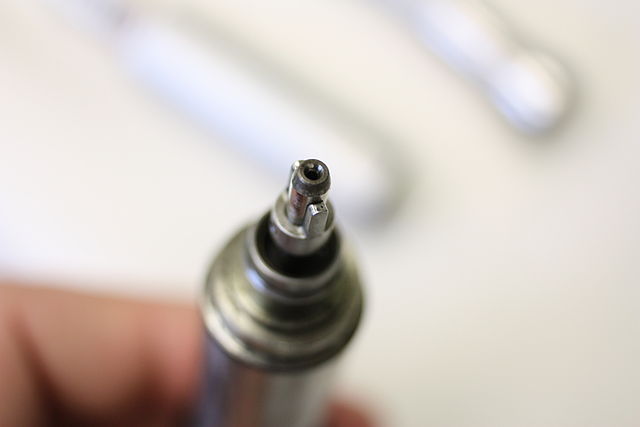
Learning how to replace your dental turbines in your dental handpiece is a wonderfully effective way to save on dental repair costs and reduce the amount of downtime that your dental establishment experiences. When using handpieces in the dental setting, it is imperative that each works optimally, at all times.

Each one that is part of your dental establishment should be properly maintained, cleaned, polished, and running optimally to ensure your safety, your team’s safety, and the safety of each of your patients.
Whether you have low-speed handpieces or high-speed handpieces, the equipment should display and exhibit the highest amount of quality so that the highest level of assurance is met, as it pertains to safety.
By replacing your dental turbines on a regular basis, you will know that your dental handpieces are as functional and safe as possible.
The following outlines the steps that are required to replace the dental turbines that are part of your office handpieces:
- First, obtain a wrench that will fit over the back cap on the turbine. Place it on the turbine, turn counterclockwise.
- Once unscrewed, completely remove the old turbine. If it does not easily come out, you may have to forcefully push it from the little bur opening on the device.
- Once the turbine has been removed, you all see two different o-rings. There is one on the front bearing and one on the back bearing. You should remove both of these.
- Once the o-rings have been removed, you should then replace them with new ones. This will help to hold the brand new dental turbine into place.
- Once the o-rings are into place, you may put the new dental turbine into the handpiece. You should make certain that you press it tightly into the back cap.
- Once in place, take the new turbine and insert it into the head-region of your dental handpiece. You must be very careful when taking this step.
- The next step to replacing your dental turbines is to tighten the back cap with your hand. Once this has been done, you should then use the back cap wrench in order to tighten it even more.
- The next step is to insert the new bur piece and properly lubricate it.
- The final step to replacing your dental turbines is to take a moment to test the handpiece to make certain that it is working properly.
Replacing dental turbines may prove to be a challenging endeavor. The parts are small and a high level of precision must be ensured in order to do the job correctly. If you are not comfortable performing these steps, you should enlist the assistance of a professional dental repair team.
We ensure that each handpiece passes to like-new operation and performance. These professionals offer pricing choices, high-quality parts, an exceptionally fast turnaround, and peace of mind. If you need assistance in repairing your dental turbines, call Hughes Diversified Dental Repair and Sales today at: 800-773-0800.
